Own A Grocery Store Upgrade Tier List
Worker speed and stack beat animal stats, personal stack, extra floors, and Market 2.
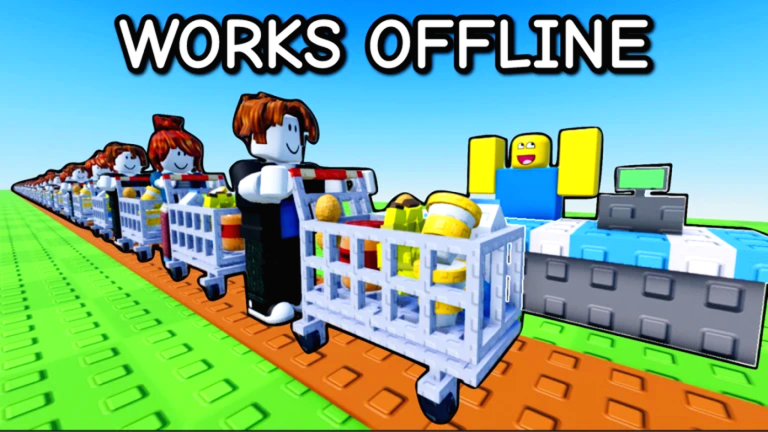
The Upgrades panel on the right side of Own A Market is where sessions are won. Green floor buttons unlock enterprises; the upgrade menu makes those enterprises run without you. This list is the spend order: worker speed and worker stack, then animal production, then personal stack, then new floors only after the current floor’s economy is maxed, and Grocery Store 2 only after Store 1 is finished.
If you dump your first like/group bonus into an upstairs slab, you will own empty space. If you dump it into worker speed, bananas keep moving while you claim Gifts. Pair this page with product priority and make money fast. There are no active codes to bail out a bad upgrade path.
S — worker speed and worker stack
Workers are the legit auto farm. Speed shortens the walk from crop to shelf to register. Stack lets them carry more per trip so the banana display does not go dry between loops. Together they do the job people buy auto farm scripts to fake, without injecting an executor.
Upgrade worker speed and stack whenever the next level costs less than a new cosmetic or a floor you cannot staff. A slow cashier is a hidden tax on every SKU, goldified or not. After rebirth you rebuild workers immediately so gold bananas are not waiting on you to learn controls again.
If you only AFK with auto collect, you still need workers (or yourself) to restock. Collection without production is a trickle.
A — animal production
Chickens and cows are idle engines for eggs and milk. Animal production upgrades raise how fast those loops emit goods. That matters more than a prettier fridge. Feed the animals; production stats do nothing in an empty pen.
Animal upgrades sit below worker speed because a fast restocker can still sell bananas if the coop is behind, while a max coop with no worker leaves eggs on the floor. Once a worker exists, pour cash into the chicken/cow stats before you buy popcorn toys. Milk production also feeds yogurt, so this tier unlocks B-tier processed products on the product list.
B — personal stack
Personal stack (sometimes shown as your manager / self carry) is for the minutes you are still the restocker. Extra carry helps the opening rush and the first rebuild after rebirth. It falls to B because every level you put here is a level you did not put into a worker who plays while you are in school.
Raise personal stack if you are actively hauling and your pockets are full every trip. Stop raising it once a worker with decent stack exists. Your character should be buying buttons and collecting edge cases, not competing with the employee.
C — floors, after the floor is maxed
Extra floors feel like the tycoon fantasy. They are also how you strand cash. A second floor with no worker, no A-tier SKUs, and no register attention is a museum. Community beginner guides agree: do not add floors until the current floor is maxed — every enterprise bought, workers hired, relevant upgrades taken.
One public playthrough showed an $8,000 floor-two button while rebirth and worker upgrades were still available. That is the trap. Finish the floor’s economy, then expand. If you are debating floor versus rebirth, open the rebirth planner. Goldifying products often beats another empty room.
D — Grocery Store 2 / Market 2, after Store 1
Store 2 costs $30,000 on the Markets icon and adds wheat, bread, and seafood. It is a real endgame plot, not a scam. It is still D on this priority list because buying it early splits your brain and your workers. Max Store 1, rebirth at least once if the goldify math works, then unlock. Step-by-step: unlock Store 2.
Scripts will not spend the $30k intelligently. A farm GUI that only knows Market 1 will idle on wheat. Staff Store 2 like you staffed Store 1: raw wheat, then bread, seafood producer, worker speed/stack again.
Session spend order
- Claim Daily, Gifts, like, and group cash (Codes Hub).
- Unlock bananas and the register; follow Getting Started.
- Buy the first worker. Upgrade speed, then stack, as soon as the prices are small relative to your income.
- Add corn, eggs, milk. Put spare cash into animal production.
- Nudge personal stack only if you are still carrying.
- Turn on popcorn / yogurt / peanut butter when inputs overflow.
- Skip a new floor. Compare rebirth versus more worker levels.
- After Store 1 is complete, buy Store 2 and repeat the worker-first pattern.
Offline earnings copy whatever you left running. A maxed worker on a gold milk fridge pays while you are gone; an unstaffed second floor does not. That is the whole upgrade meta.
Upgrades versus scripts
If the register is the only pain, a collect loader is tempting. If restock is the pain, a farm GUI is tempting. Both need executors and can ban the account — see the Scripts Hub. Worker speed/stack is the same feature with a receipt. Buy that first, then decide whether you still want to inject.
When patches add new upgrade rows, they will slot into this ladder by the same test: does it make the current floor print while you are AFK? If yes, it competes with worker speed. If it only opens a new building, it waits until the current building is done. Track those patches on Updates.
Frequently Asked Questions
Quick answers for Own A Grocery Store on Roblox.
What should I upgrade first in Own A Market?
Worker speed and worker stack. They restock and cashier faster than you can. Animal production is next. Full order is on this page and in make money fast.
When should I buy a new floor?
Only after the current floor has every enterprise, worker, and useful upgrade. Expanding early splits income. Compare with rebirth first.
When do I buy Grocery Store 2?
After Store 1 is maxed. It costs $30,000 and adds wheat, bread, and seafood. Guide: unlock Store 2.
Is personal stack a waste?
No, but it is B-tier. Raise it while you are the restocker, then put cash back into workers who run offline earnings without you.
Do rebirths reset my upgrade levels?
Rebirth resets progress and money, then goldifies products. Rebuild workers immediately so the gold SKUs move. Use the rebirth planner for timing.